
Video Creation Course
Show patients the mechanics — instead of describing them.
The method Prof. Kleber uses to produce his own orthodontic explainer videos with Keynote, Bone Box and STL Master — the same workflow behind his 500+ published videos.
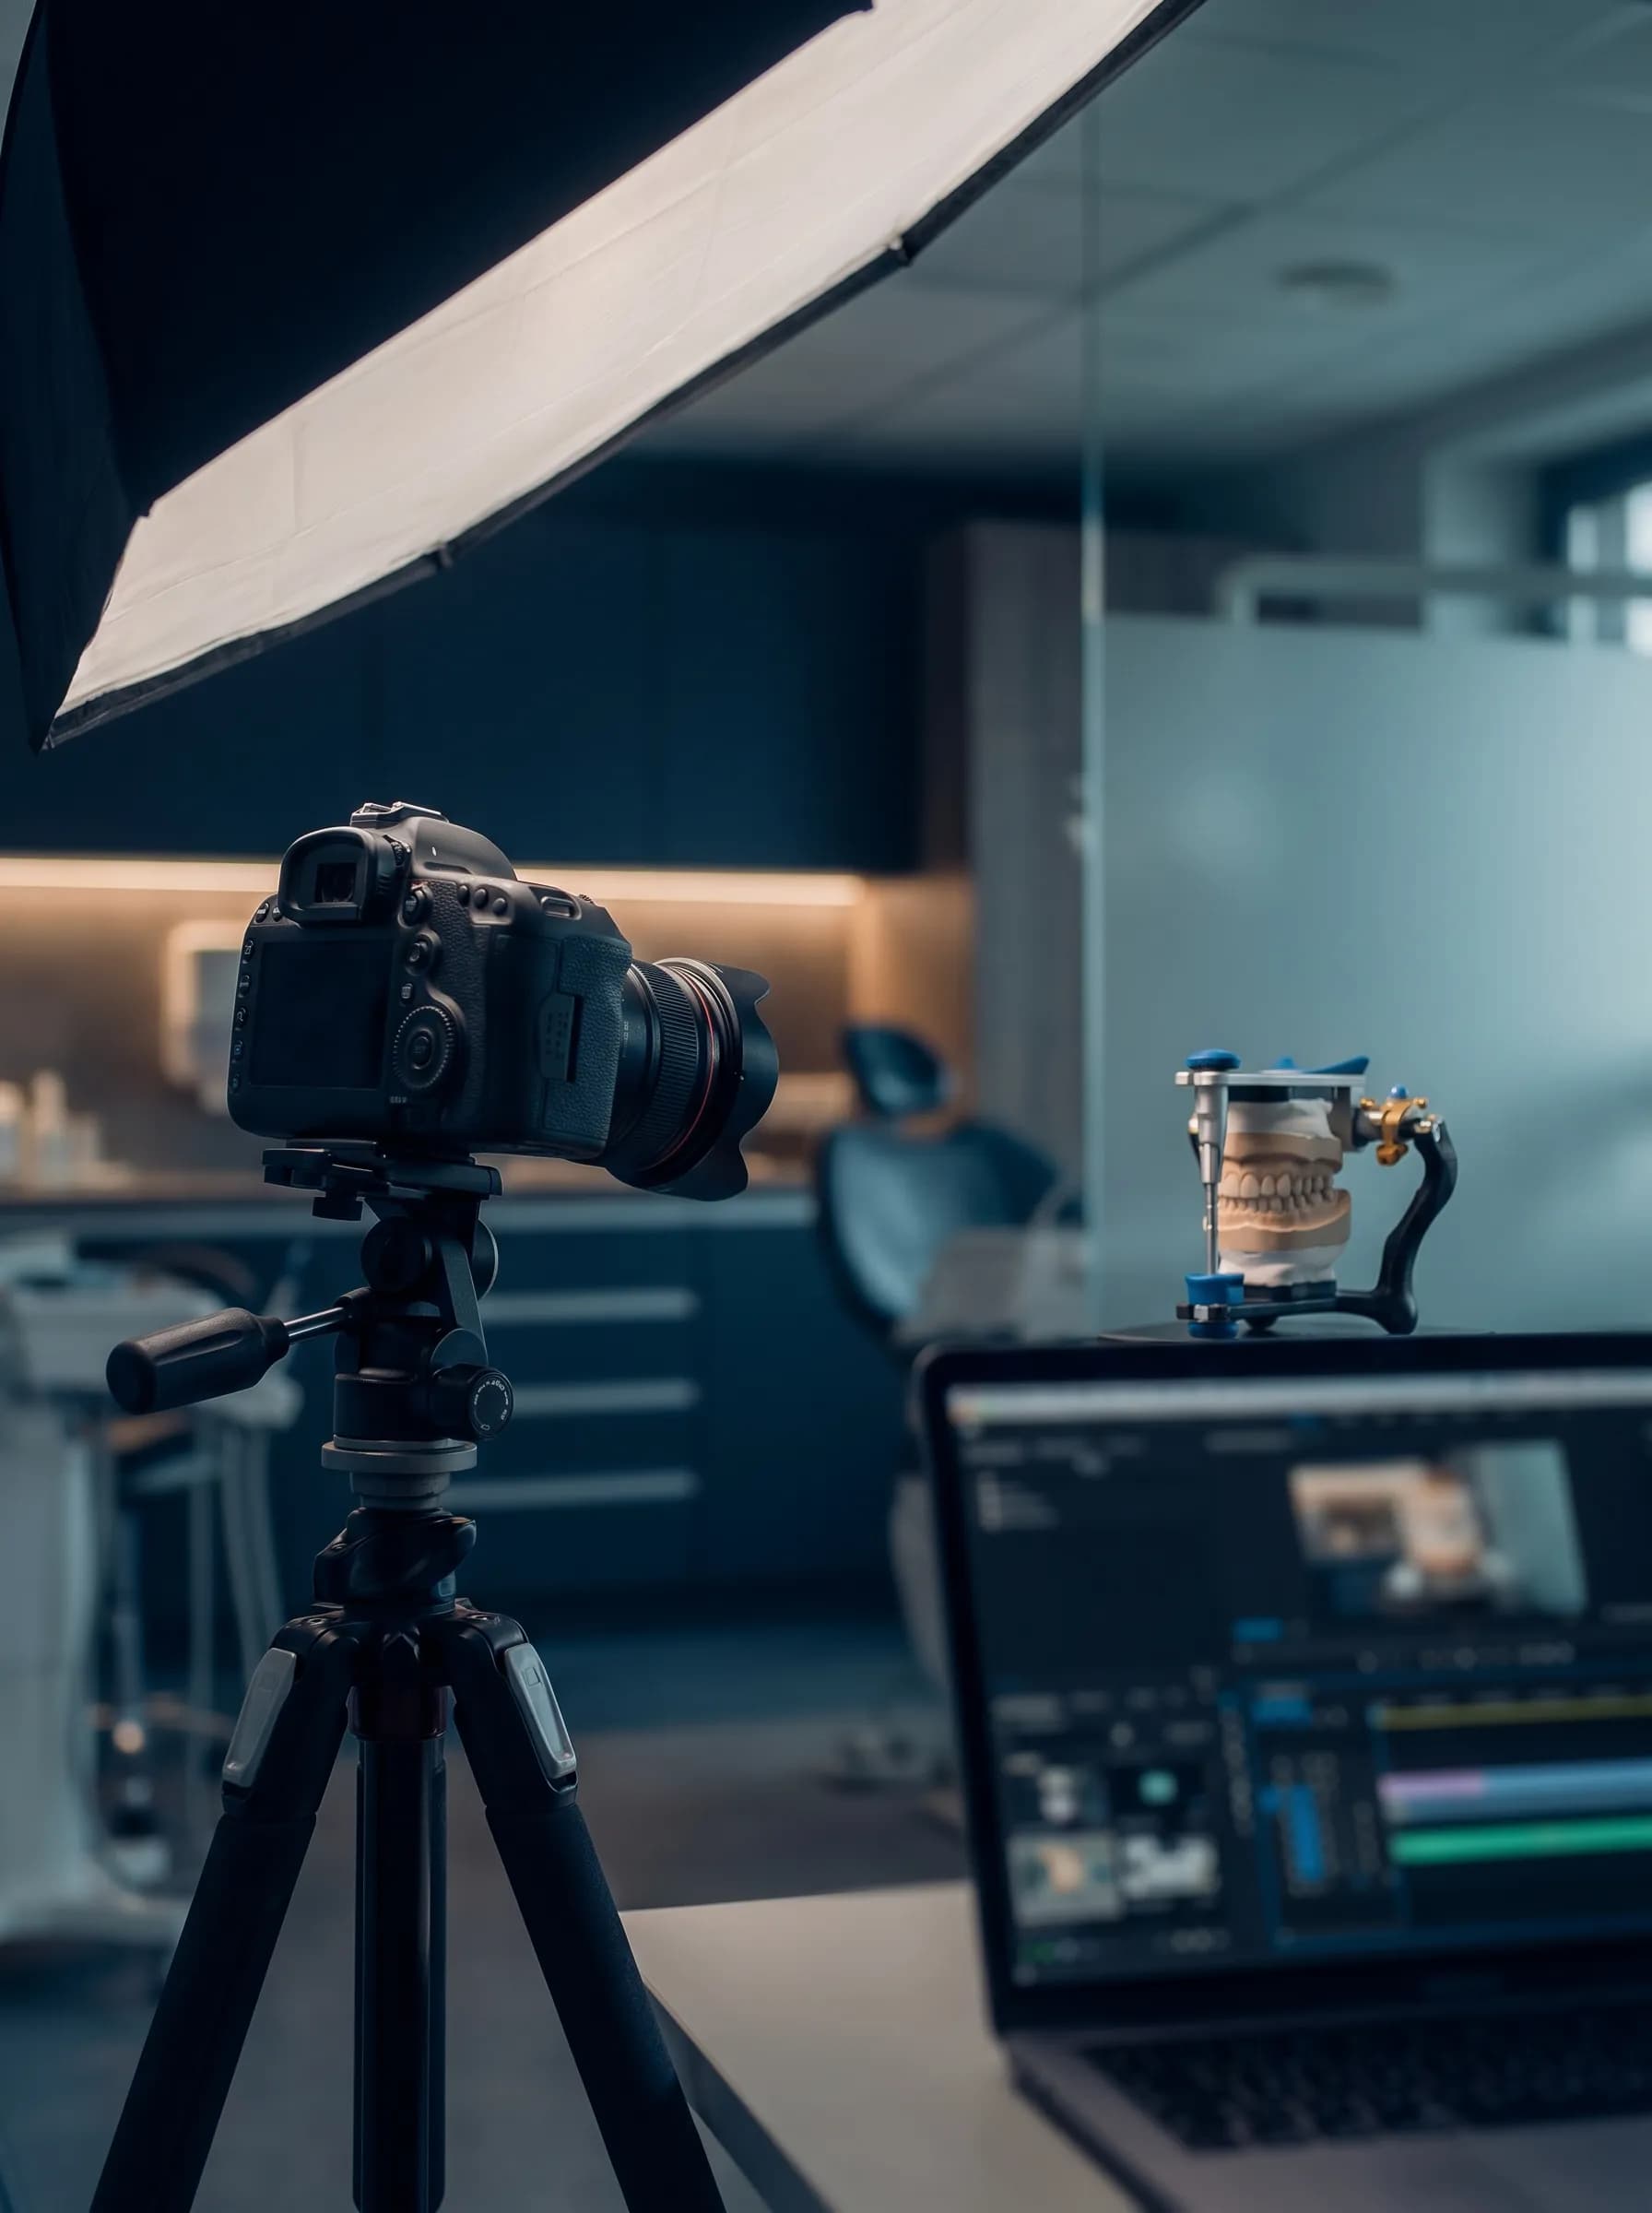
If any of this sounds familiar, this is the gap.
"I want to create educational content like Kleber, but I don’t know how to record, edit, or what to talk about."
You can plan a complex retraction — but you can’t show a patient why it matters, so case acceptance suffers.
You explain mechanics with words and static diagrams; patients nod and forget, students disengage.
Seminar and lecture slides that describe tooth movement instead of demonstrating it.
Animate real mechanics with software you likely already have.
This is the workflow behind Prof. Kleber’s 500+ published orthodontic videos. Using Keynote, the Bone Box app and STL Master, you learn to capture teeth and brackets, assemble them on screen and animate real mechanics — anterior retraction, inclination loss, wire-slot play, couple forces — without any video-editing background.
- +Produce explainer videos that demonstrate concepts like inclination loss and play inside the slot
- +Build patient-education videos that raise case acceptance through visual explanations
- +Assemble teeth, brackets, wires and ligatures in Keynote from captured and STL-sourced images
- +Export finished videos ready for consultations, seminars, Instagram or YouTube
What is inside, module by module.
01Lesson 1 — Introduction
+
Lesson 1 — Introduction
The workflow and the tools — Keynote, Bone Box and STL Master. No video-editing background required.
02Lesson 2 — How to Make Videos, Part 1
+
Lesson 2 — How to Make Videos, Part 1
Capturing and assembling your visual components.
- Capturing teeth with the Bone Box app
- Screenshotting brackets and tubes from STL files
- Removing backgrounds; adjusting size, proportion and rotation
- Assembling teeth, brackets, wires and ligatures in Keynote
03Lesson 3 — How to Make Videos, Part 2
+
Lesson 3 — How to Make Videos, Part 2
Turning assembled components into a finished video.
- Structuring sequences across slides, animations and transitions (including Magic Movement)
- Animation order and timing
- Text banners with clinical information
- Demonstrating concepts such as inclination loss and play inside the slot
- Exporting the final video
Beyond the core curriculum.
STL model library
Ready-to-use models for your videos: brackets in multiple prescriptions (Roth, MBT, Edgewise), ceramic and self-ligating options, tubes, an orthodontic mini screw and accessories.
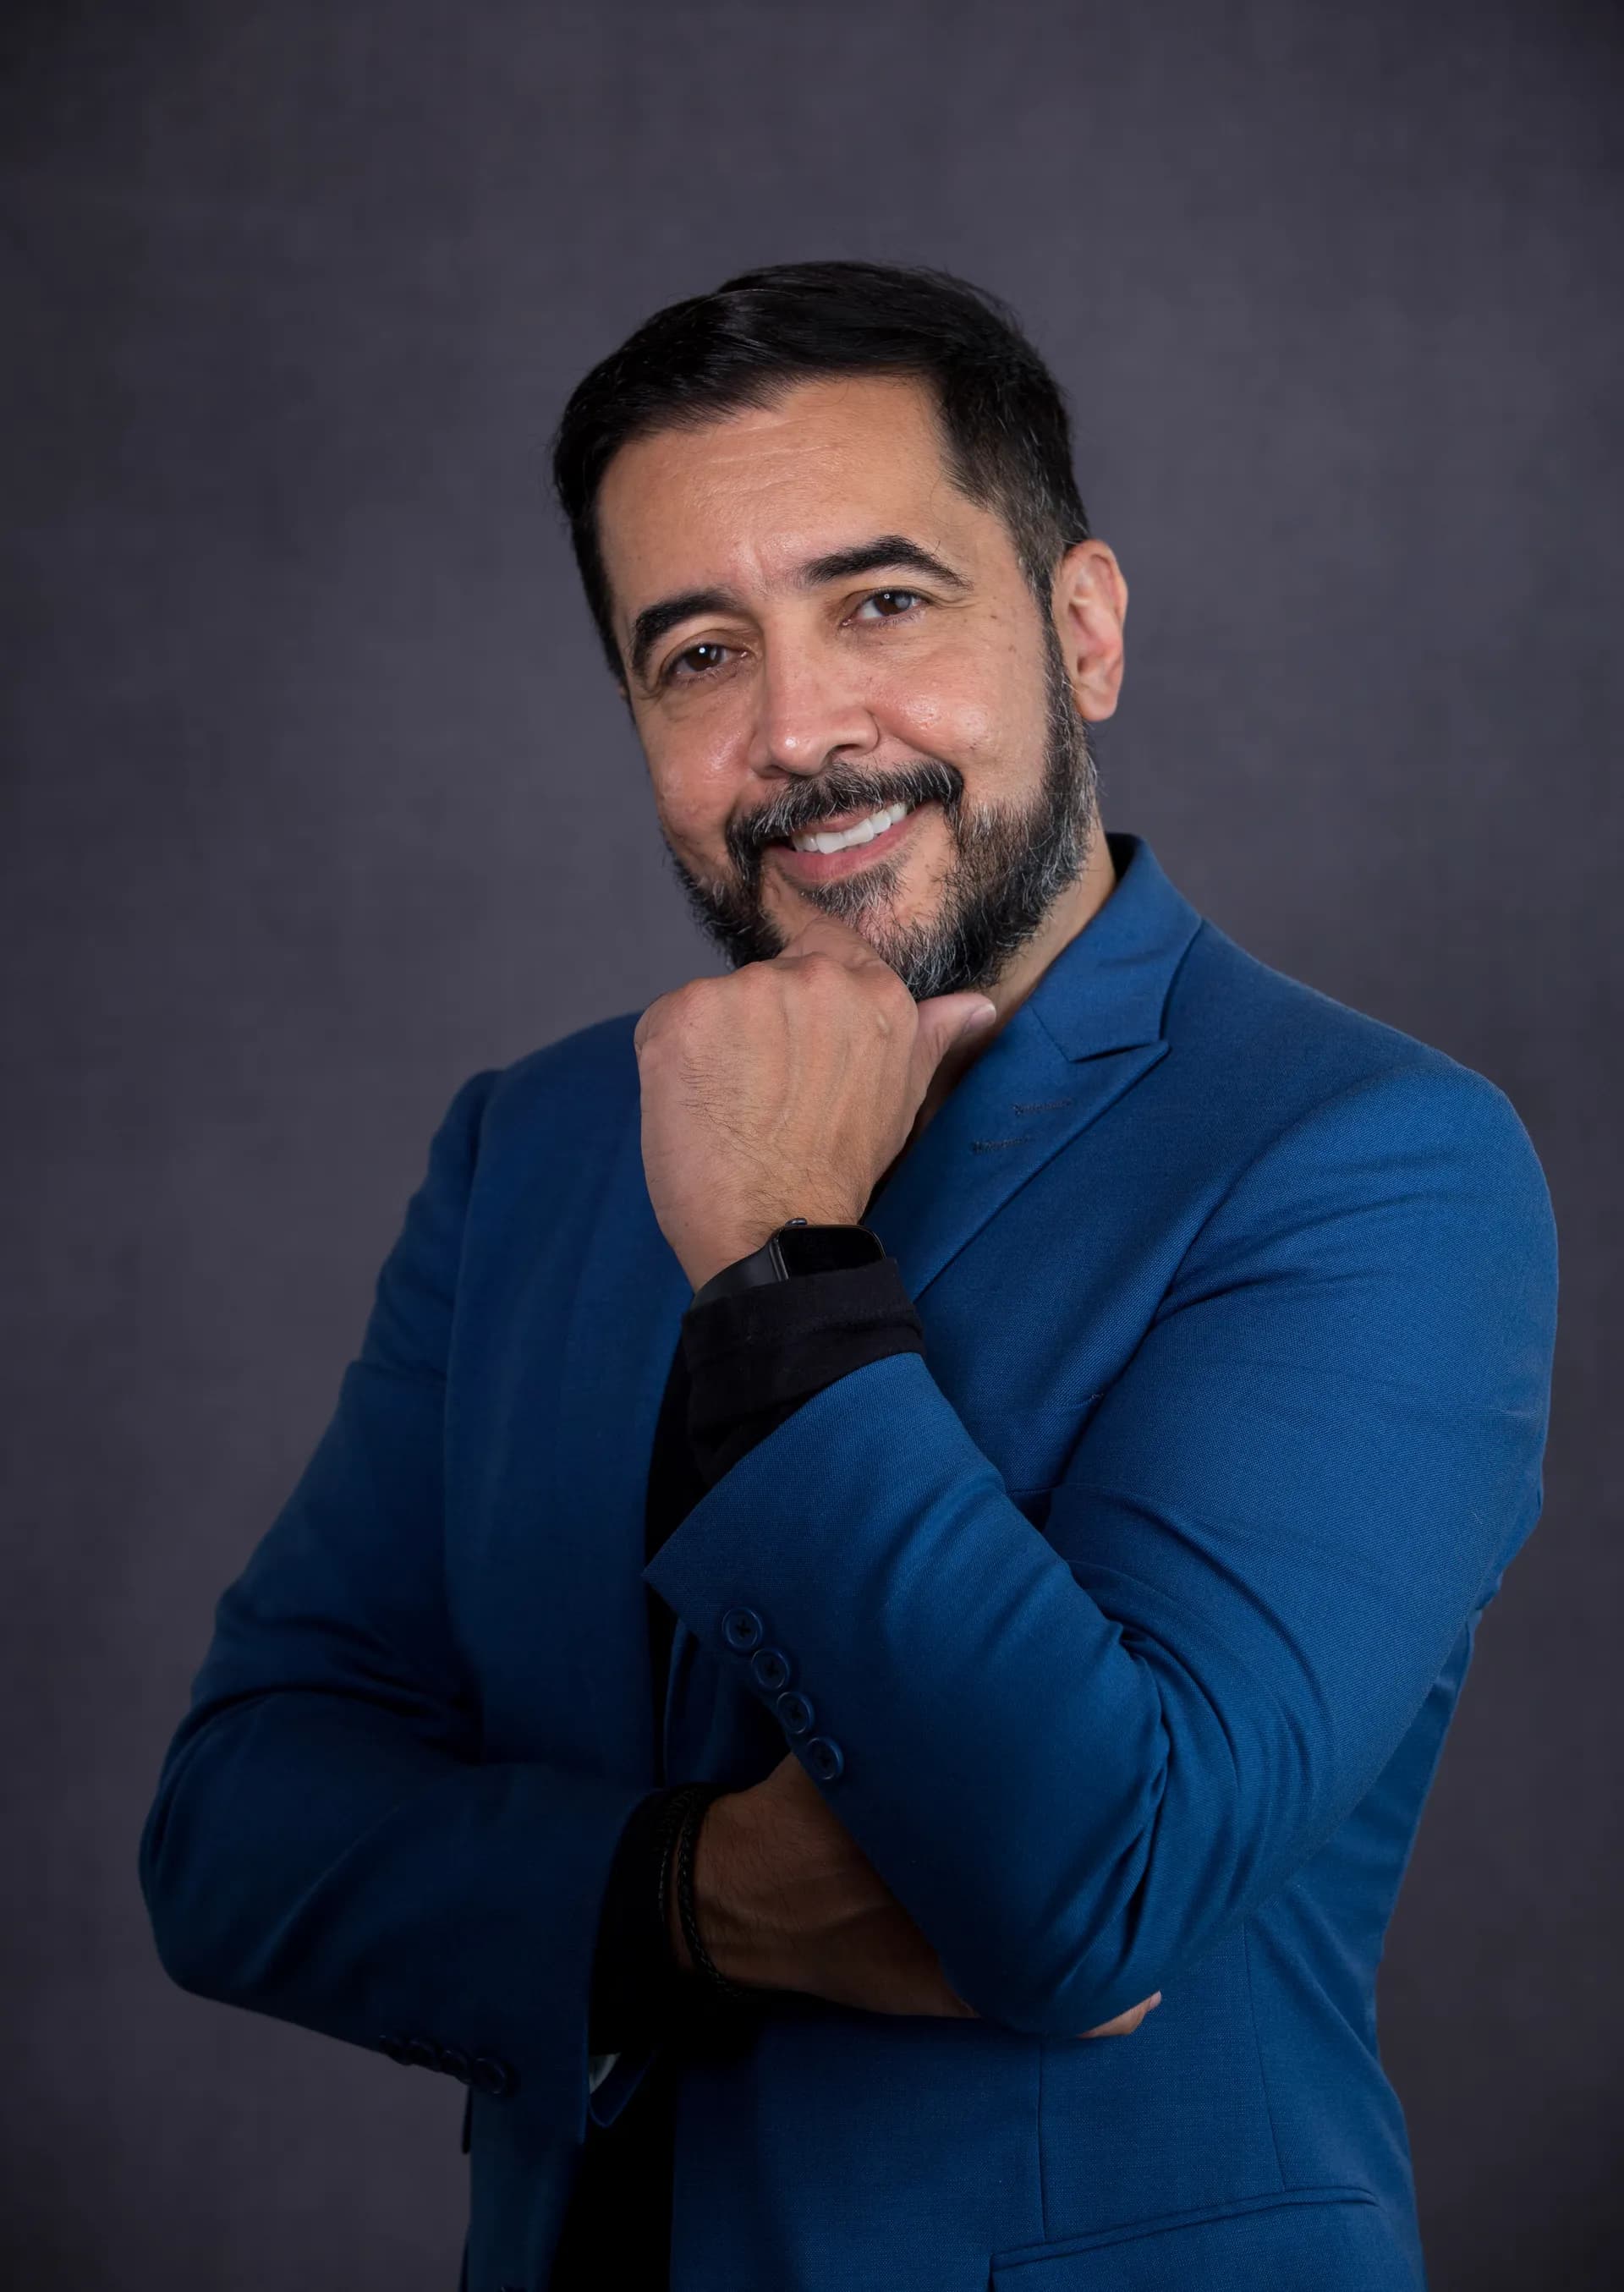
Prof. Dr. Kleber Meireles.
Orthodontist, international speaker and creator of the KM Orthodontic Diagnosis and Treatment Planning System. Specialist in Orthodontics at USP Bauru, professor and coordinator of postgraduate orthodontics programs, co-creator of the Centrex System published in the Dental Press Journal.
His teaching is built on one premise: cases that used to take four to five years can be resolved in under two — not through talent, but through diagnosis and biomechanics applied as a method.
Built for a specific clinician.
- +Orthodontists who want higher case acceptance through visual treatment explanations
- +Residents preparing seminars and case presentations
- +Educators and speakers building lectures and webinars
- +Clinicians creating educational content for Instagram or YouTube
- −Anyone looking for clinical orthodontic content — this course teaches video production, not mechanics
- −Clinicians expecting professional video-editing software training; the workflow is Keynote-based
- −Those who want someone else to produce their content rather than learn the method
One price. Everything included.
Secure checkout via Eduzz. Card, installments and international payment supported.
- +3 lessons
- +1 year access
- +STL model library
Before you ask.
Is the course in English?
+
Yes. All three lessons and the included materials are in English.
How long do I have access?
+
One year of full access to the lessons and the STL model library, on any device.
Do I need video-editing experience or expensive software?
+
No editing background is required. The workflow uses Keynote, the Bone Box app and STL Master — tools you likely already have or can obtain at low cost.
I use Windows, not a Mac. Does the method still apply?
+
The course is demonstrated in Keynote, which is Mac software. The capture, assembly and animation principles adapt to PowerPoint, but you should expect to translate the steps yourself.
What kind of videos will I be able to make?
+
Orthodontic explainer videos: animated demonstrations of mechanics such as anterior retraction, inclination loss and couple forces — usable in patient consultations, lectures and social media.
What if it does not improve how I present mechanics?
+
If the method does not improve how you present mechanics to patients and audiences, request a full refund within 15 days.
Animate real mechanics with software you likely already have.
A 3-lesson course on creating orthodontic explainer videos for patient education, lectures and social media — capture, assembly and animation in Keynote, with a library of STL models included.
KM Diagnosis & Treatment Planning
The complete four-layer diagnostic protocol. Facial, smile, occlusal and cephalometric analysis integrated into one repeatable system, from Class I to surgical cases.
$697 →APB · CourseAccessible & Practical Biomechanics
The complete KM biomechanics program: force systems, bonding strategy, first- to third-order bends, sagittal corrections and finishing — plus the full bonus stack of courses and ebooks.
$1397 →